
Unifying Design: A Woodbridge Home Transformed by Wood & Herringbone
In the heart of Woodbridge, Vaughan, this project represents the pinnacle of cohesive interior design. The mission was clear: replace disjointed flooring materials with whole house nature wood flooring and staircase to create a seamless flow. The highlight of this renovation is the stunning herringbone flooring in the kitchen, a feature that defines the space with timeless elegance.
This case study details how we integrated custom white oak elements to turn a standard suburban home into a bespoke masterpiece, adhering strictly to Ontario Building Codes and high craftsmanship standards.
Table of Contents
- Project Quick Specs
- Designer’s Insight: Flow & Focal Points
- Material Deep Dive: White Oak & Herringbone
- Renovation Timeline
- Local Expert FAQ
Project Quick Specs
A summary of the technical details for this Woodbridge renovation, optimized for quick reference:
| Feature | Details |
|---|---|
| Location | Woodbridge, Vaughan, ON |
| Scope | Full House Floor Replacement & Staircase Rebuild |
| Primary Material | Select Grade White Oak (Natural Finish) |
| Kitchen Feature | Herringbone Flooring (3” x 12” custom planks) |
| Staircase Style | Solid Oak Treads with White Risers |
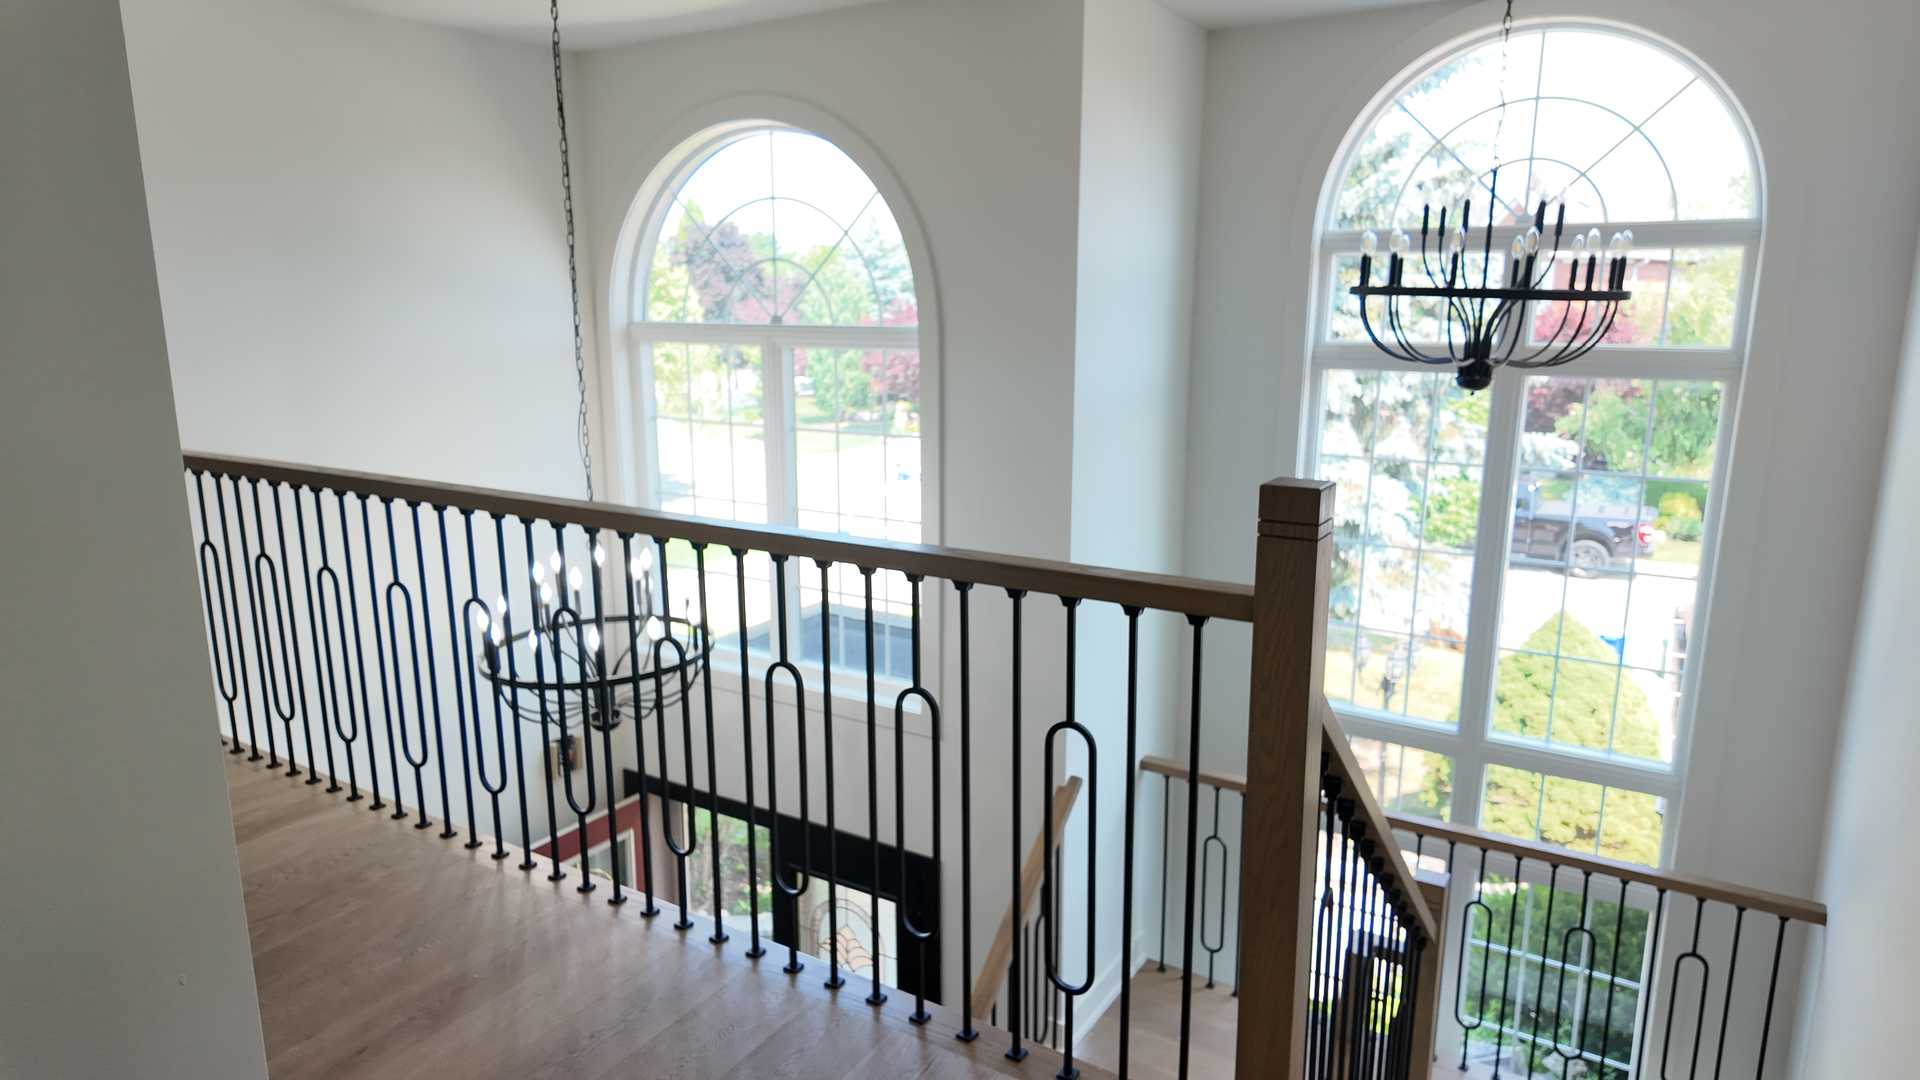
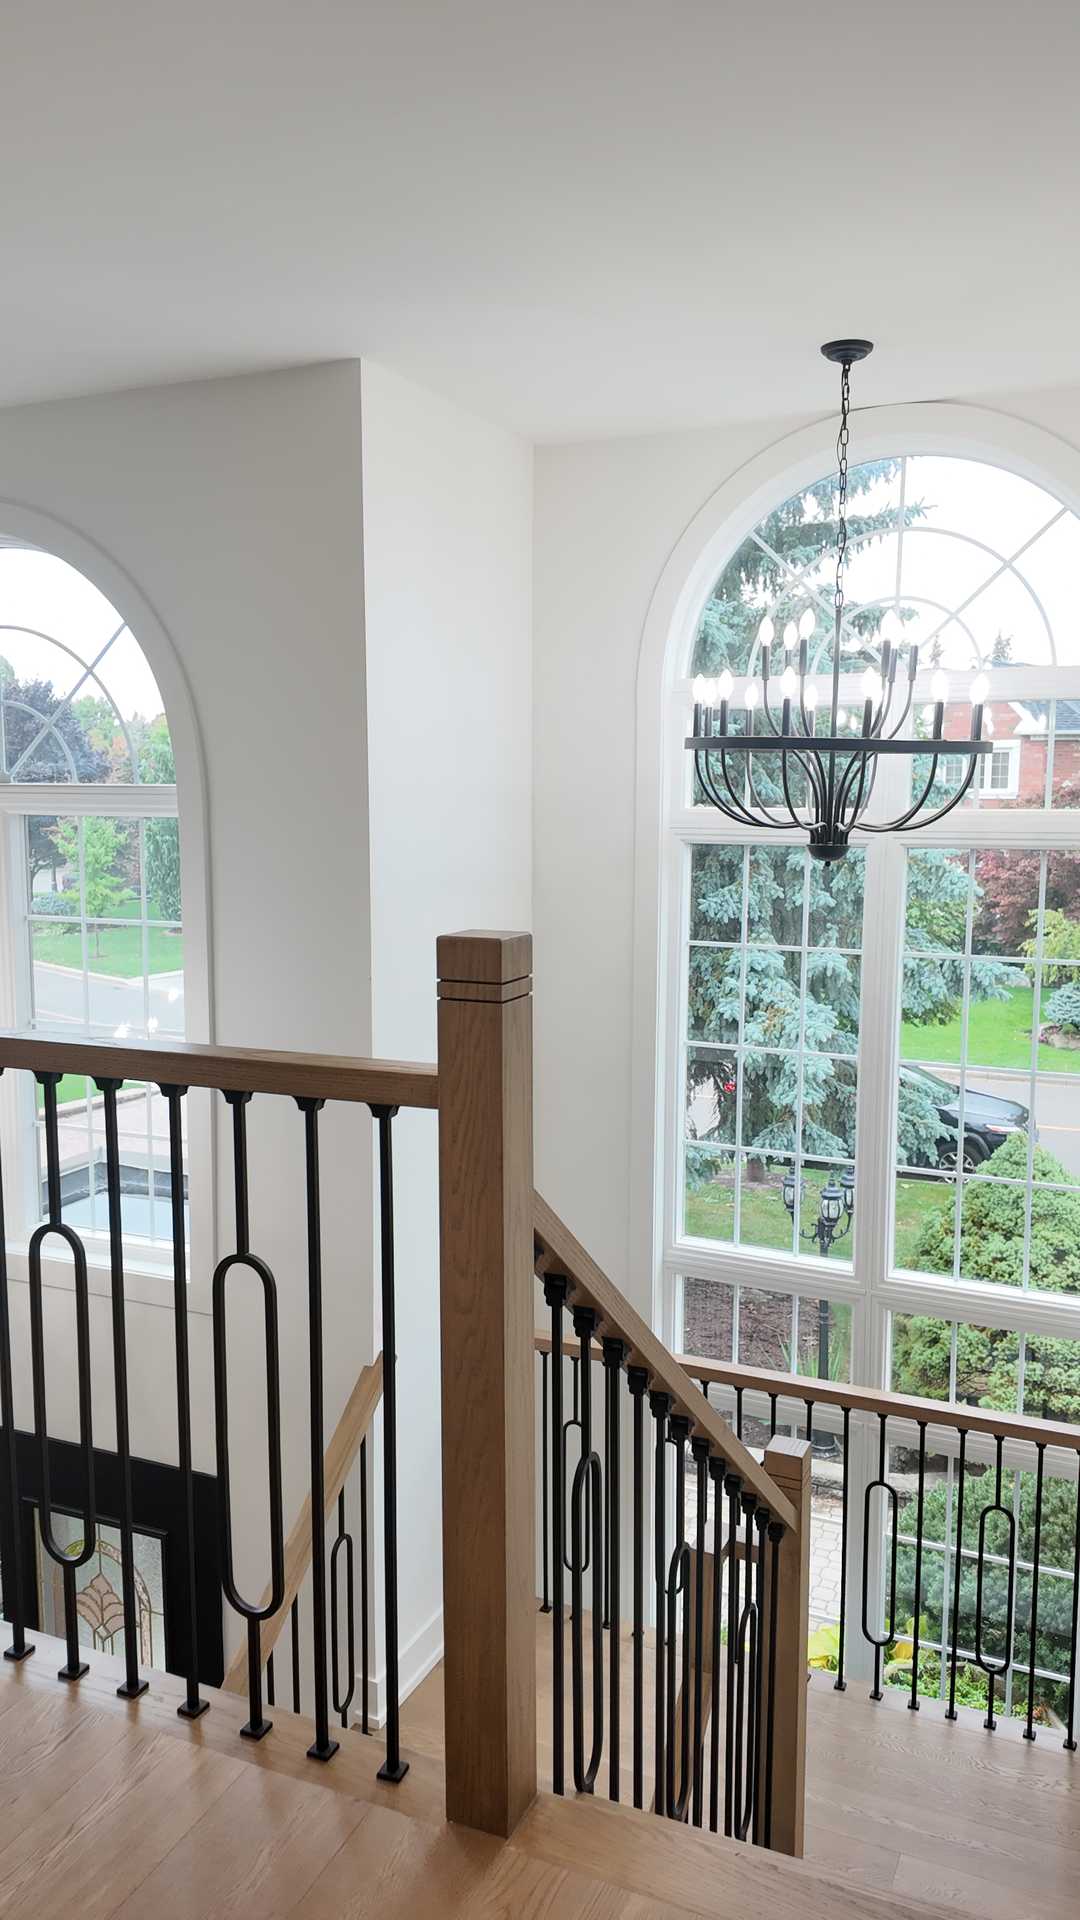
| Railing System | Matte Black Iron Spindles & Oak Handrail |
| Project Duration | 3 Weeks |
Designer’s Insight: Flow & Focal Points
We sat down with our Lead Designer to unpack the strategy behind this Woodbridge stairs renovation.
Q: Why was natural white oak chosen as the unifying material? A: The homeowners in Vaughan wanted to move away from the “choppy” feel of mixed tiles and carpet. White Oak is the perfect unifier. Its neutral tone works with both warm and cool colour palettes, and its durability is unmatched for a whole house nature wood flooring project. It brings a sense of expansive calm to the home.
Q: What role does the herringbone pattern play in the kitchen? A: In open-concept homes, you need to define zones without building walls. We used herringbone flooring in the kitchen as a “visual rug.” It uses the same wood species as the living room but changes the geometry. This subtle shift signals that you’ve entered the culinary space, adding a layer of luxury and craftsmanship that standard plank flooring simply can’t match.
Material Deep Dive: White Oak & Herringbone
Achieving this look requires specific material choices. Here is what went into this Woodbridge home:
The Flooring: Select Grade White Oak
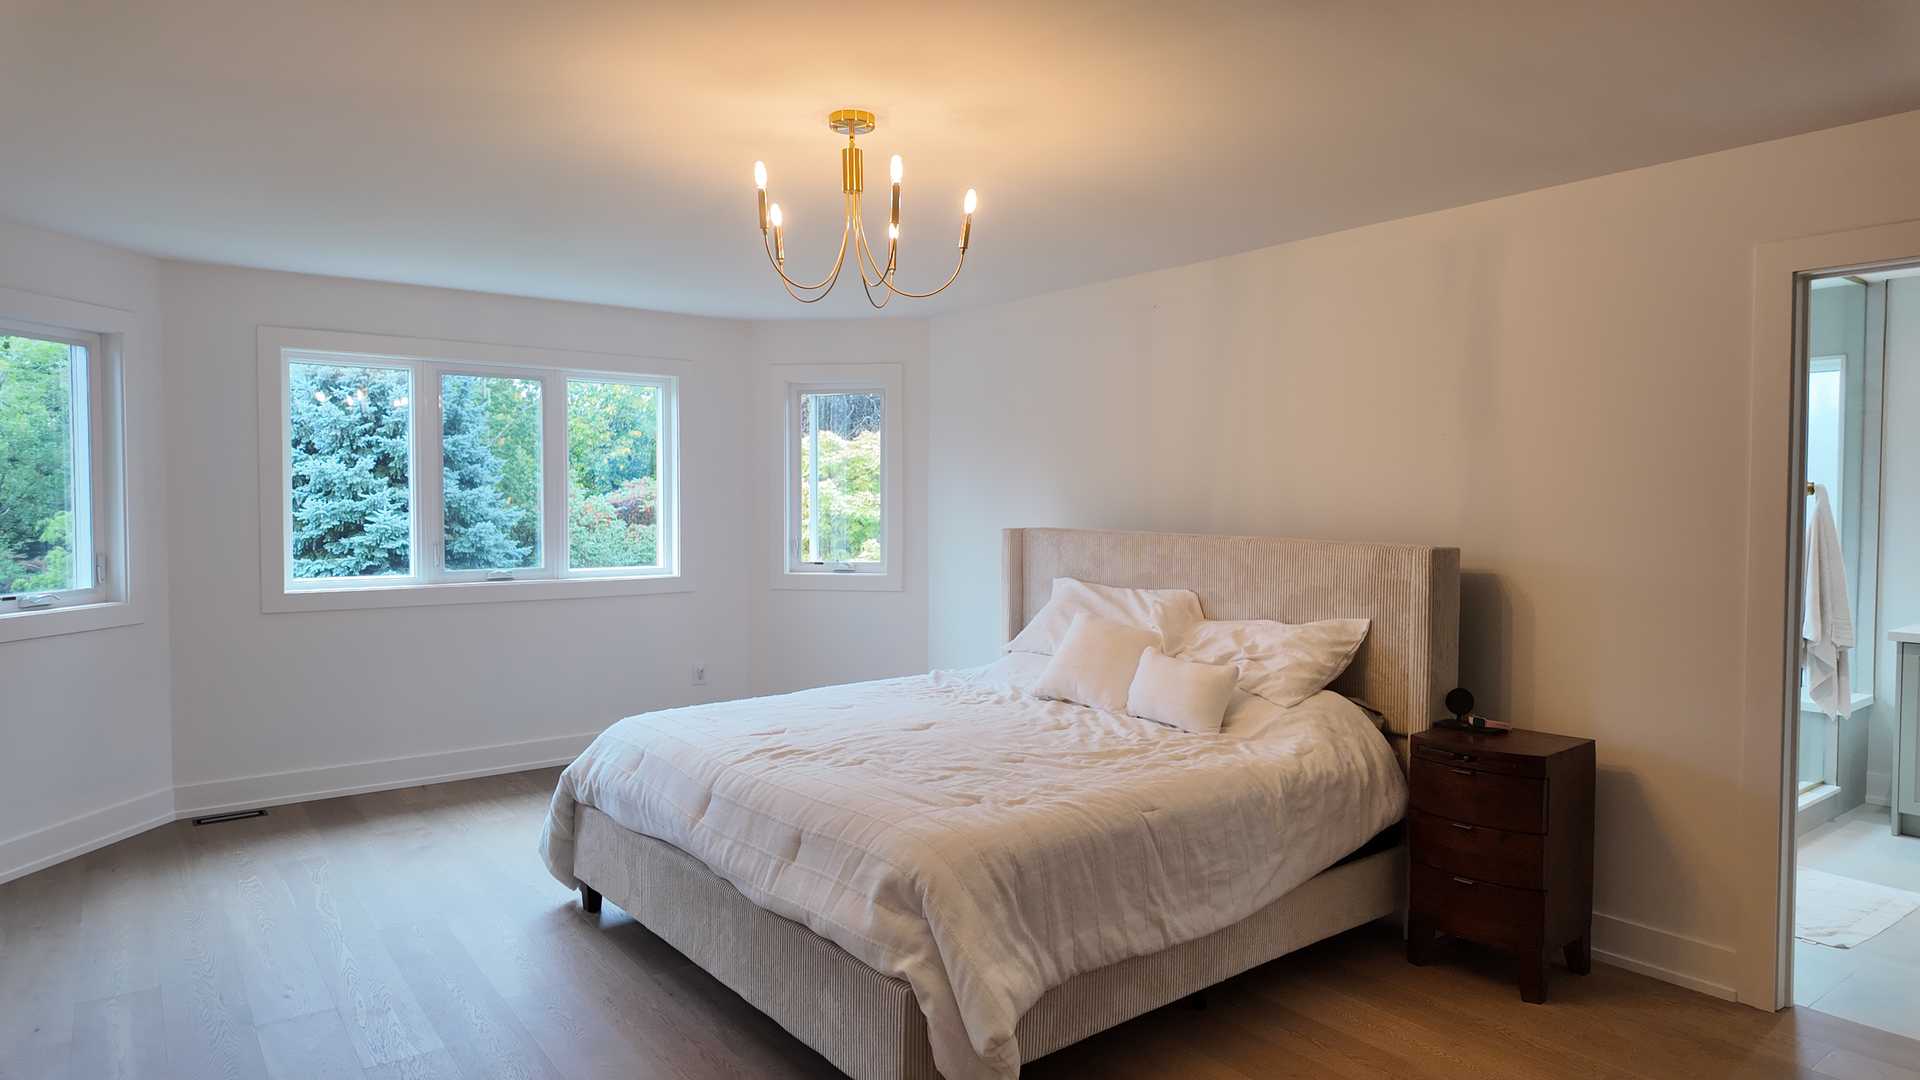
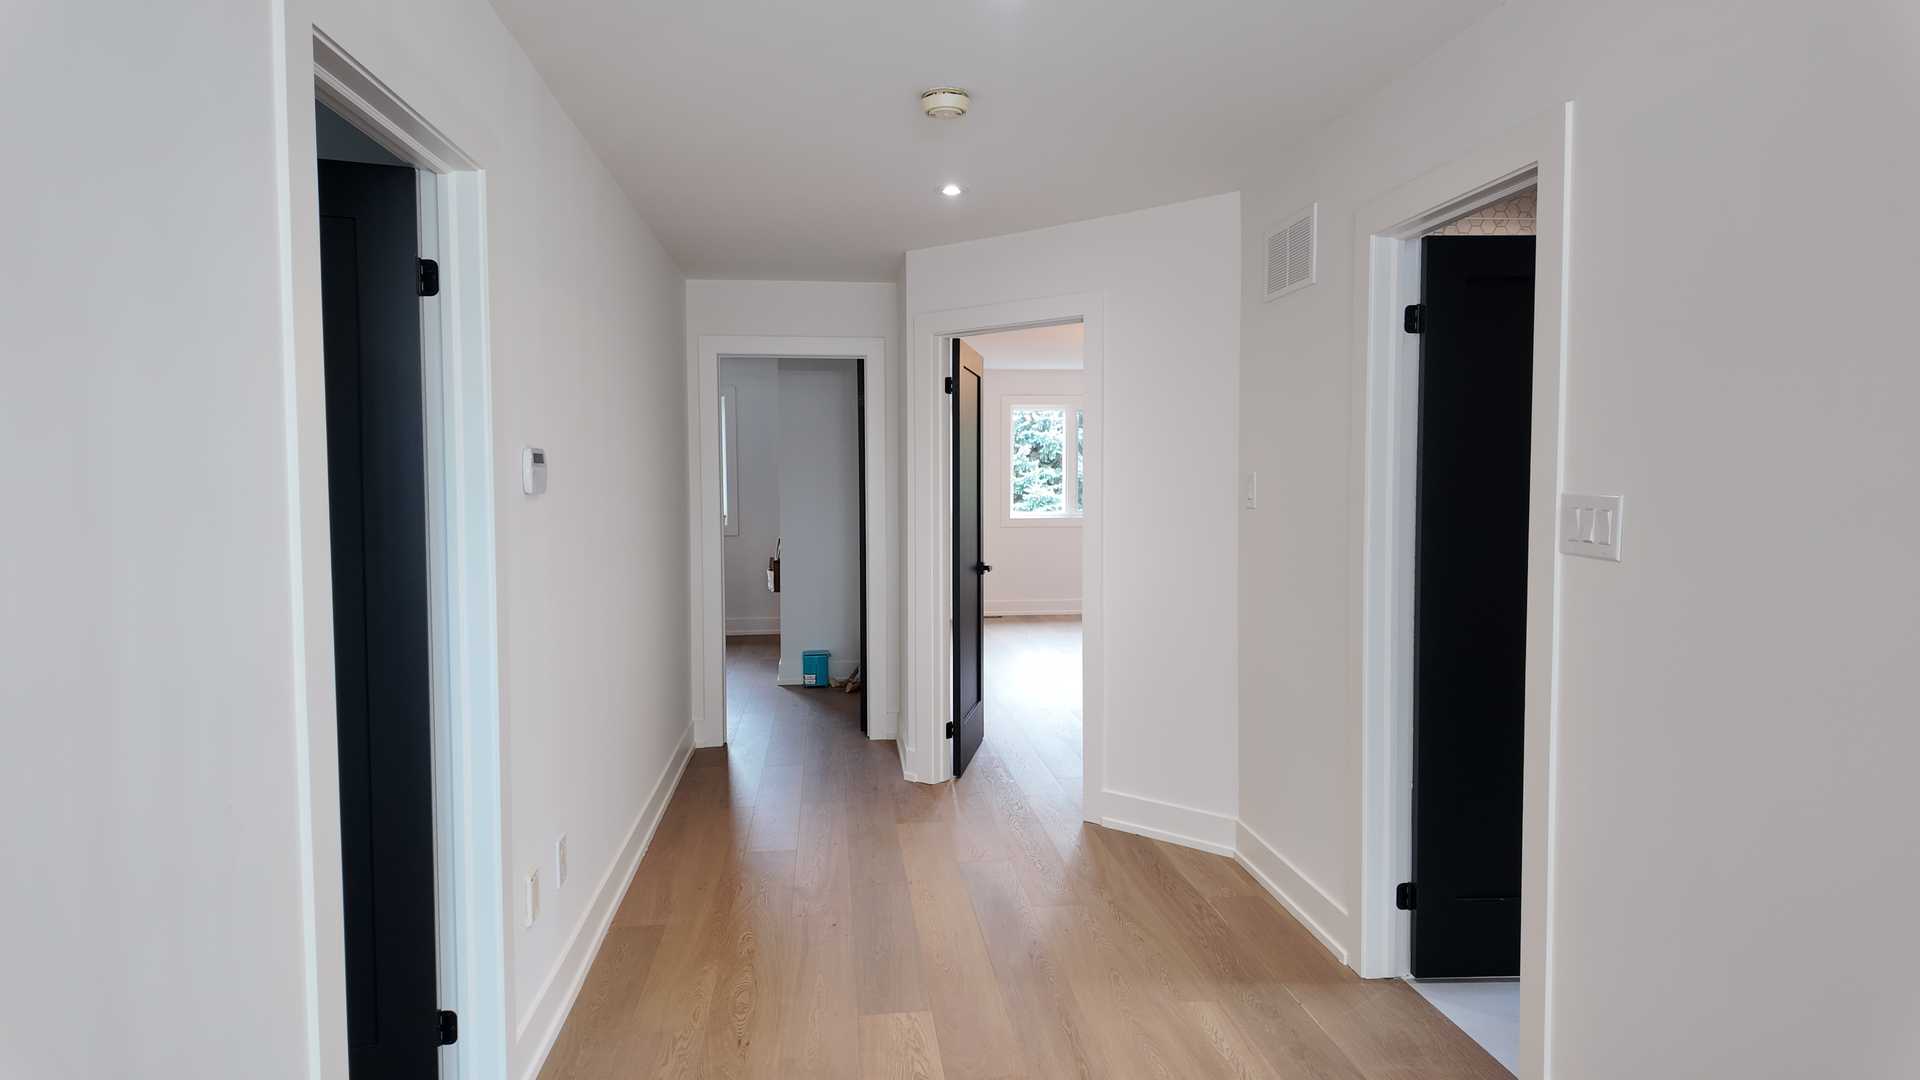
We installed 5-inch wide plank White Oak throughout the main and upper levels. We chose “Select Grade” to minimize knots and colour variation, ensuring a clean, modern aesthetic. The finish is a low-VOC satin polyurethane, which offers durability against scratches—essential for a family home—without the artificial glare of high-gloss finishes.
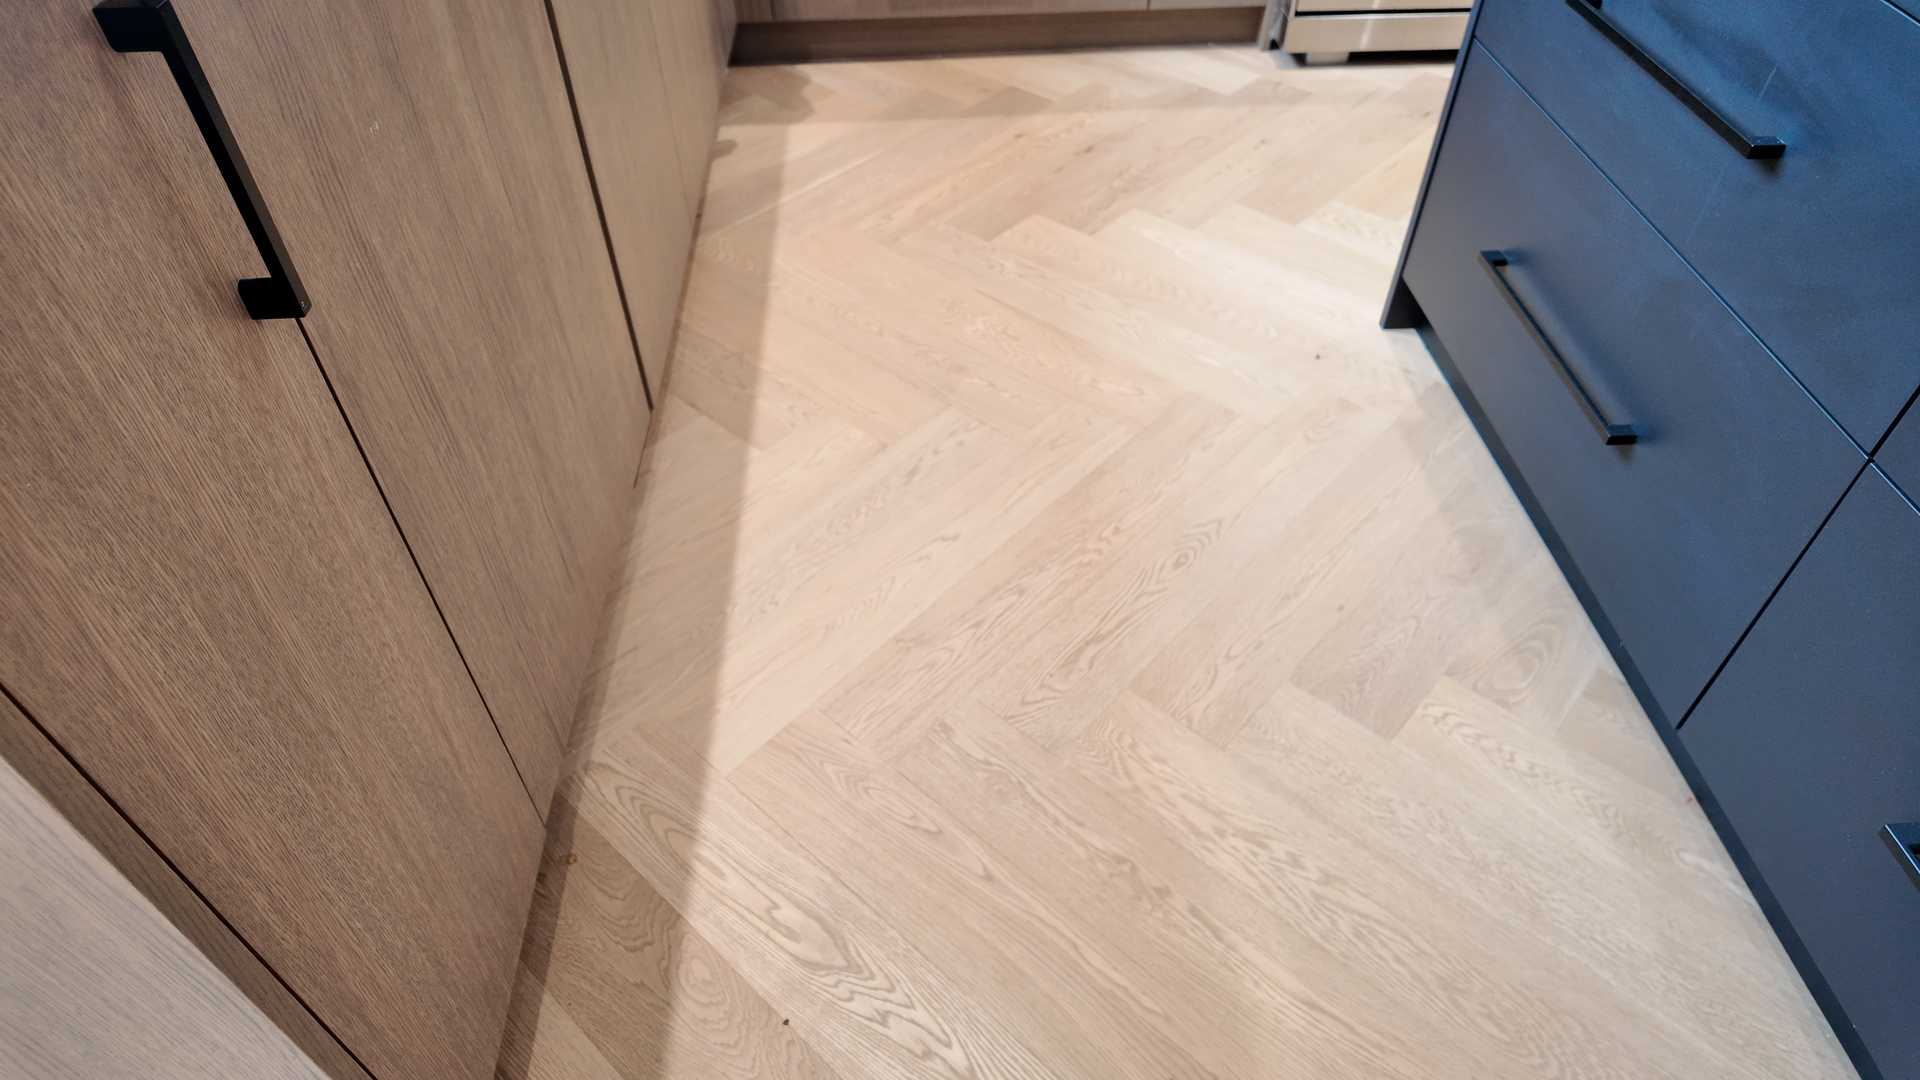
The Feature: Kitchen Herringbone
For the kitchen, we milled the same White Oak into smaller 3” x 12” planks. Installing herringbone flooring is an art form; it requires precise mathematical layout to ensure the pattern is centered and symmetrical. The result is a durable, high-impact floor that elevates the entire kitchen.
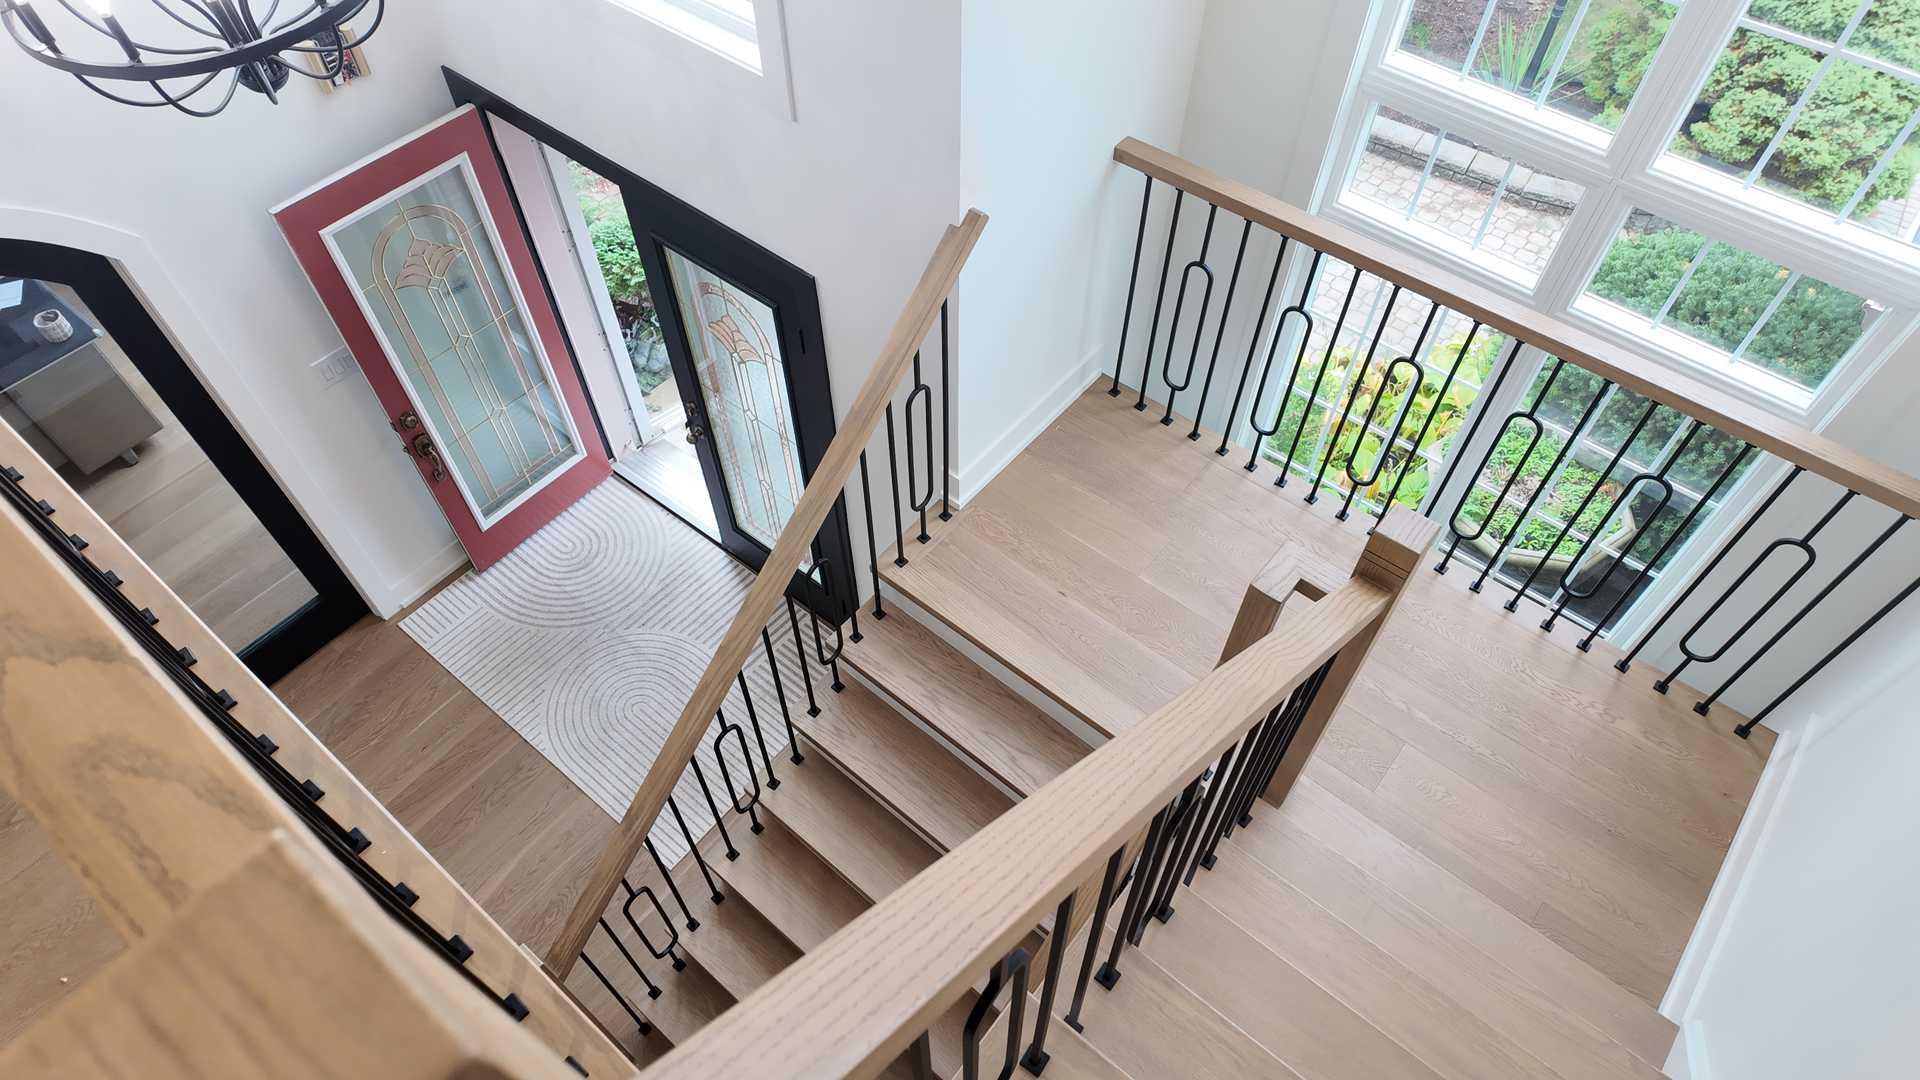
The Staircase: A Modern Classic
The staircase was rebuilt to match the floors.
- Treads: Solid 1-inch thick White Oak, custom-stained to seamlessly match the flooring.
- Risers: Painted white maple. This “waterfall” effect (wood tread, white riser) brightens the stairwell and highlights the wood grain.
- Spindles: We replaced bulky wood balusters with minimalist matte black iron spindles. This introduces a contemporary edge that contrasts beautifully with the traditional warmth of the oak.
Renovation Timeline: A 3-Week Transformation
Executing a whole house flooring project requires a tight schedule.
- Week 1: Demolition & Subfloor Prep. We removed old carpet, tile, and the existing staircase. Our team leveled the subfloor—a critical step for ensuring the herringbone flooring lays flat and doesn’t squeak.
- Week 2: Installation. The main wide-plank flooring was installed. In the kitchen, our master installers spent days meticulously laying the herringbone pattern. The new staircase structure (stringers, risers, treads) was also built during this phase.
- Week 3: Finishing. The stairs were sanded and finished on-site. The iron spindles and handrails were installed. Finally, we applied the protective clear coats and installed new baseboards to complete the look.
Local Expert FAQ: Woodbridge Renovation Guide
Q: Is herringbone flooring more expensive to install than regular planks? A: Yes. Herringbone flooring typically costs 20-30% more in labor and requires about 15% more material due to cut waste. The installation is slower and requires a higher skill level to ensure the pattern remains straight across the room. However, for a feature area like a kitchen, the ROI in terms of visual impact and property value in Vaughan is significant.
Q: Do I need a permit to replace my staircase in Vaughan? A: Generally, a “remove and replace” project in the same footprint does not require a permit. However, if you are altering the structure, moving walls, or changing the opening size, a permit from the City of Vaughan is required. We handle all code compliance checks to ensure your Woodbridge stairs renovation meets all safety standards, including proper handrail height and spindle spacing.
Q: Can I live in the house during a whole-house flooring renovation? A: It is challenging. During the sanding and staining phases of a nature wood flooring project, we recommend homeowners stay elsewhere for 3-4 days. This is due to the noise, dust (even with containment), and fumes from the finishing products. We provide a clear schedule so you can plan accordingly.
Ready to elevate your home? This project proves that the right flooring and staircase can completely redefine a property. If you are in Woodbridge or Vaughan and want to explore herringbone flooring or a custom stair rebuild, contact us today for a free estimate.